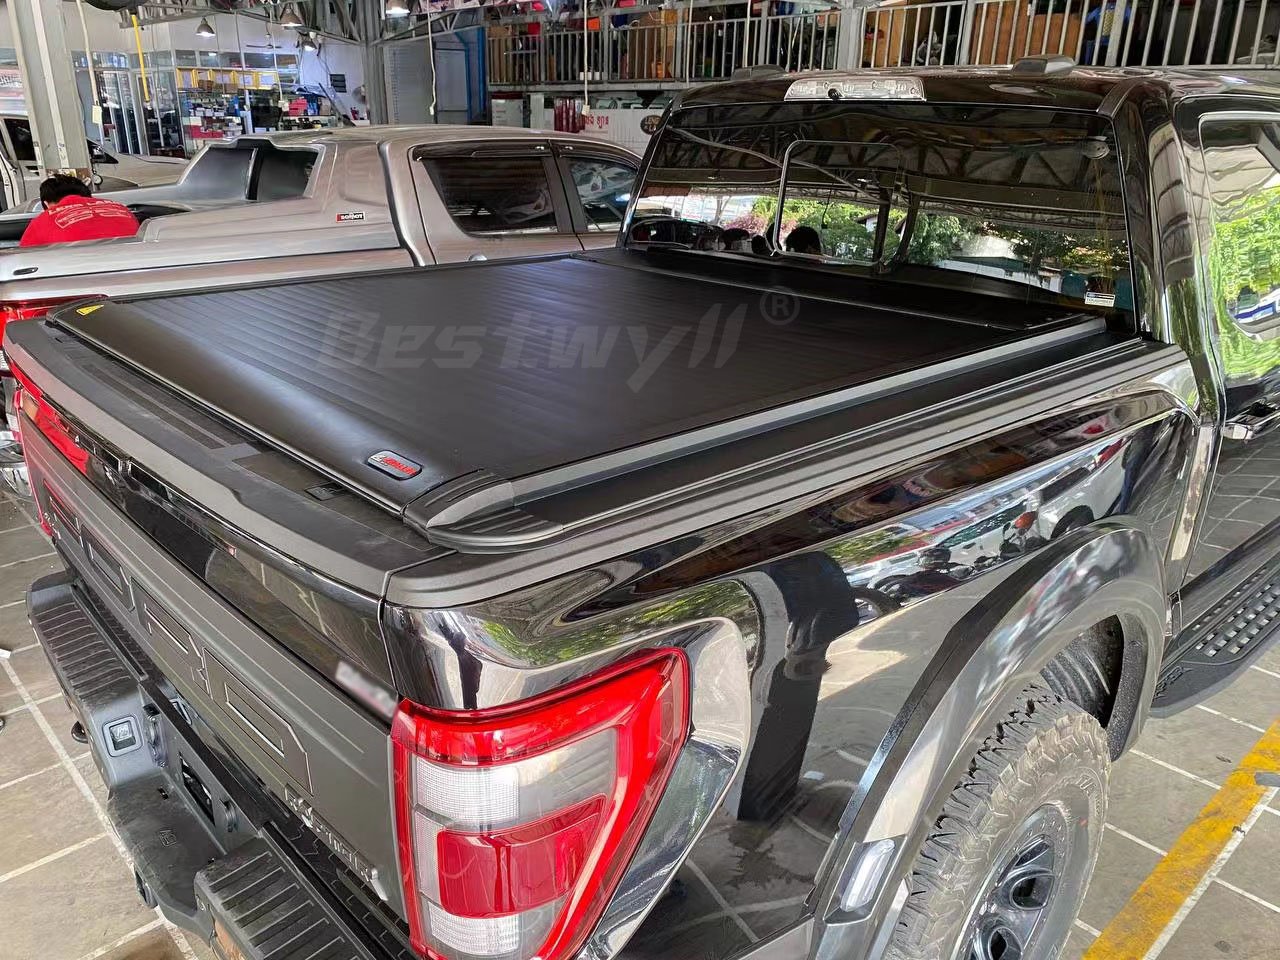
Introduction:
Installing an electric tonneau cover on your truck can greatly enhance its functionality and appearance. However, if you have never installed one before, the process can seem daunting. In this blog post, we will guide you through the step-by-step process of installing an electric tonneau cover easily and efficiently. Let's get started!
Step 1: Gather the necessary tools and materials
Before you begin the installation, ensure that you have all the required tools and materials. Typically, you will need a wrench, a socket set, a screwdriver, and the installation kit provided with the tonneau cover. It is also advisable to have an assistant to help you during the process.
Step 2: Preparing the truck bed
Start by cleaning the truck bed thoroughly to remove any dirt, debris, or rust. This will ensure a clean surface for the tonneau cover installation. Additionally, measure the dimensions of your truck bed to ensure that the tonneau cover fits perfectly.
Step 3: Mounting the side rails
Most electric tonneau covers come with side rails that need to be mounted onto the truck bed. Follow the manufacturer's instructions to position the side rails correctly. Use the provided hardware and a socket set to secure the rails firmly in place. Ensure that the rails are aligned properly and evenly on both sides of the truck bed.
Step 4: Installing the tonneau cover
Once the side rails are securely mounted, it's time to install the tonneau cover itself. Carefully unroll the cover and position it over the side rails. Attach the cover to the rails using the provided clamps or screws, following the manufacturer's instructions. Ensure that the cover is centered and aligned correctly.
Step 5: Wiring the tonneau cover
Electric tonneau covers require wiring to connect to the truck's electrical system. Locate the wiring harness included in the installation kit and connect it to the designated connection points on the tonneau cover and the truck's electrical system. Ensure that the connections are secure and properly insulated.
Step 6: Testing the tonneau cover
Before you finish the installation, it is crucial to test the functionality of the tonneau cover. Follow the manufacturer's instructions to calibrate and test the cover's opening and closing mechanisms. Make any necessary adjustments to ensure smooth operation.
Step 7: Final adjustments and finishing touches
Once you have tested the tonneau cover and it is functioning correctly, make any final adjustments to the alignment or tension of the cover. Double-check all the connections and tighten any loose screws or clamps. Finally, clean the tonneau cover and truck bed to give it a polished look.
Conclusion:
Installing an electric tonneau cover on your truck can be a straightforward process if you follow these steps. By gathering the necessary tools, preparing the truck bed, mounting the side rails, installing the cover, wiring it correctly, and testing its functionality, you can ensure an easy and efficient installation. Enjoy the added convenience and style that an electric tonneau cover brings to your truck!

